

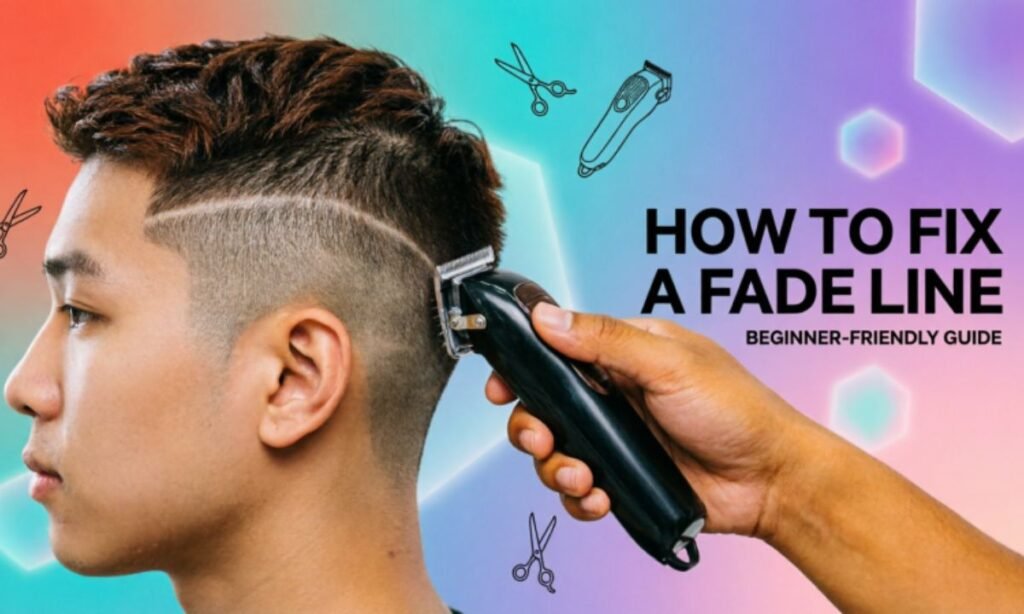
A sharp fade should melt from skin to hair without a single visible break. But if you’ve ever looked in the mirror after a home haircut or a rushed barber visit and spotted a hard ring circling your head, you already know how one bad line can ruin an otherwise good cut.
The good news: a fade line is almost never permanent damage. It’s a blending problem, and blending problems can be fixed with the right tools, the right guard sequence, and a little patience. This guide walks you through exactly why fade lines happen and how to correct them step by step, even if you’ve never picked up a clipper before.
What Is a Fade Line?

A fade line is the visible ring or ridge that appears where one hair length stops and another starts. Instead of a smooth gradient from short to long, you get a sharp, noticeable edge — almost like a shadow painted around the head.
In a proper fade, the transition between guard lengths should be invisible up close and completely seamless from a few feet away. A fade line breaks that illusion. It’s the single biggest giveaway of an inexperienced cut, and it’s the number one thing beginners struggle to avoid.
Why our eyes notice it:
- Contrast. Hair reflects light differently at different lengths, so any abrupt length change creates a visible shadow.
- Symmetry expectations. Human eyes are wired to notice broken patterns, and a ring around the head stands out instantly.
- Color difference. Shorter hair often looks lighter or shows more scalp, making the boundary line even more obvious against longer, darker hair above it.
Why Fade Lines Happen
Fade lines don’t happen randomly. They’re almost always caused by one (or more) of these four technical mistakes. Understanding the cause makes the fix much easier, because you’re not just smoothing a line — you’re correcting the habit that created it.
ALSO READ THIS:https://thehairsmaster.com/how-long-does-a-fade-last/
1. Jumping Guard Sizes Too Fast

Skipping from a low guard (like a 1) straight to a much higher one (like a 4) leaves a huge length gap with nothing in between to blend it. The bigger the jump, the harder the line.
2. Pressing the Clipper Too Hard

Pressing the blade flat against the scalp cuts a hard, defined edge instead of a soft taper. Fades need light, controlled pressure — not force.
3. Not Using the Clipper Lever
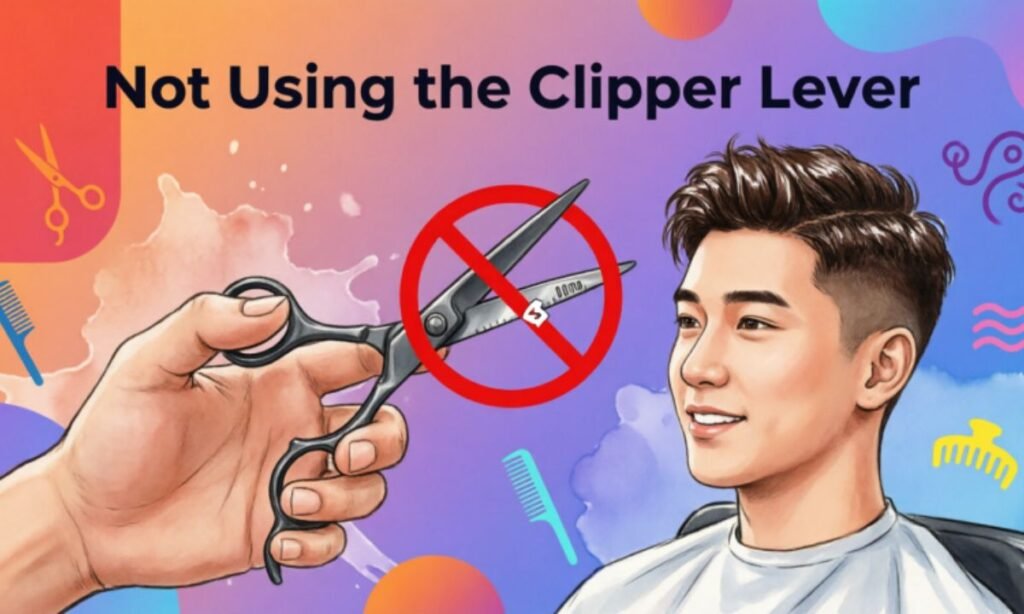
Most clippers have a lever that opens and closes the blade gap without swapping guards. Skipping this tool means you’re stuck with fixed length jumps instead of gradual ones, which is one of the fastest ways to create a visible line.
4. Cutting Straight Up
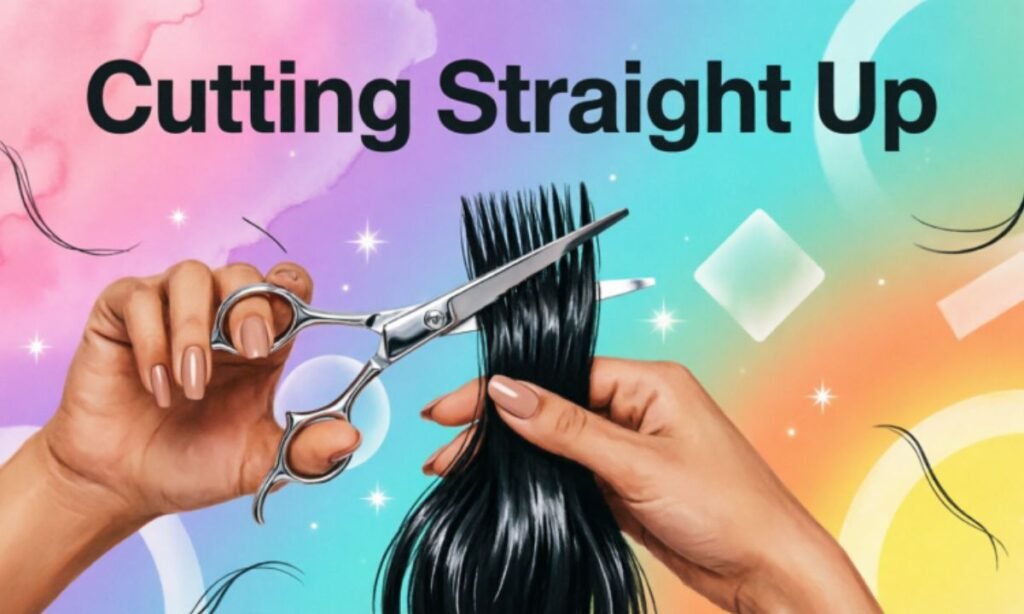
Moving the clipper straight upward in one motion cuts a flat shelf into the hair. Barbers use small flicking or rocking motions instead, which feather the ends and avoid a hard stopping point.
Tools You Need

Before fixing a fade line, gather the right equipment. Trying to blend with the wrong tools is one of the most common reasons beginners struggle a second time.
| Tool | Purpose |
| Clipper with adjustable lever | Lets you open and close the blade gap gradually for smooth blending |
| Guard set (0.5, 1, 1.5, 2, 3) | Provides small, controlled length steps between sections |
| Trimmer | Cleans up edges and hairlines without disturbing the blend |
| Fine-tooth comb | Lifts hair for even, consistent cutting |
| Soft bristle brush | Directs hair flat so you can see the true line |
| Mirror (handheld + wall) | Lets you check the back and sides, where most lines hide |
| Good lighting | Reveals shadows and unevenness that dim rooms hide |
You don’t need a professional barber kit. A basic clipper with a lever, two or three guards, and decent lighting is enough to fix most fade lines at home.
How to Fix a Fade Line
The core method for fixing almost any fade line is the same: use the same guard the line was cut with, open the lever fully, and blend upward with light, flicking strokes instead of one hard pass. This softens the boundary instead of creating a new one.
Why this works:
- Using the same guard avoids introducing a second length, which would just create a new line.
- Opening the lever reduces cutting depth without changing guards, giving you a gentler, more gradual cut.
- Flicking motions remove small amounts of hair at a time instead of chopping a flat edge, which is what creates lines in the first place.
Think of it like shading a pencil sketch instead of erasing with force. Small, repeated strokes blend tone. One heavy stroke leaves a mark.
How to fix it properly:
- Wash and dry the hair completely — wet hair hides the true line and leads to uneven cutting.
- Comb the hair flat so the fade line is clearly visible under good light.
- Attach the same guard used on the shorter section.
- Fully open the clipper lever to soften the cutting depth.
- Starting just below the line, use small upward flicking strokes, lifting the clipper away from the head at the top of each stroke.
- Work in thin sections, moving around the head evenly so no single spot gets over-thinned.
- Check your progress every few strokes in a mirror — over-blending is harder to undo than under-blending.
- Once the line has softened, switch to the next guard size up and lightly blend the upper section the same way to connect everything smoothly.
B. If the Fade Line Won’t Blend (Stubborn Line)
Some lines resist the standard method, usually because the length gap between sections is simply too big for light blending alone to fix.
What beginners usually do wrong:
- Pressing harder, thinking more force will erase the line (it usually deepens it).
- Going straight to a much higher guard, which creates a second line above the first.
- Cutting the same spot repeatedly without moving position, which creates a bald patch instead of a blend.
Correct method:
- Introduce one middle guard size between the two existing lengths (for example, a 1.5 between a 1 and a 2).
- Blend this middle length directly over the old line using the same flicking motion.
- Work top to bottom and bottom to top a few times, softening both edges of the new middle zone.
- Repeat with the lever open, then closed, to fine-tune the transition without changing guards again.
- Give it a day or two — some minor unevenness settles and looks less noticeable once the hair falls naturally.
C. If You Went Too High (Overcut Fade)
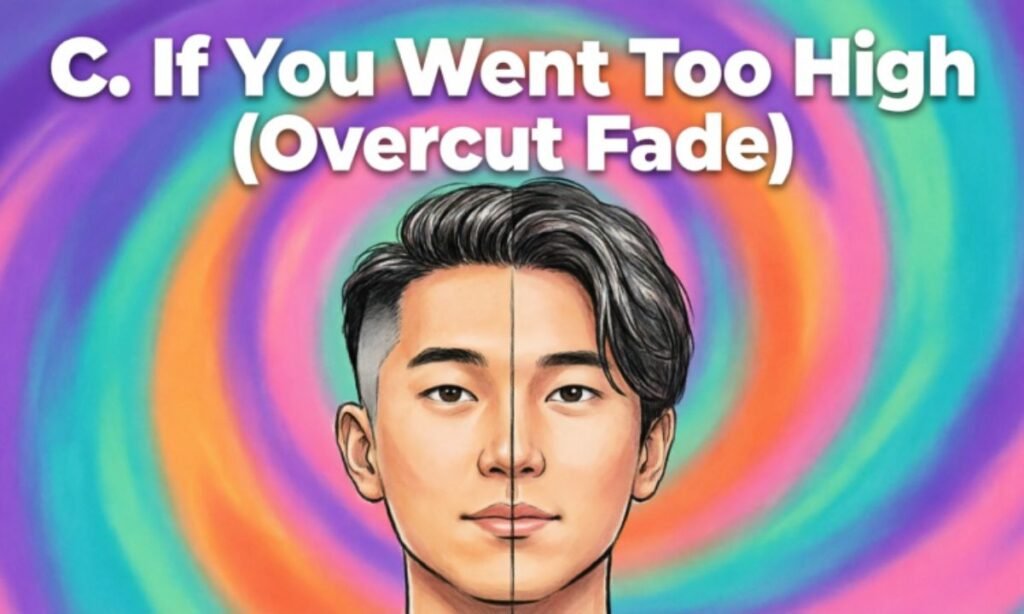
Sometimes the fix itself goes wrong, and the fade line ends up higher on the head than intended. This is one of the most stressful mistakes because the instinct is to keep cutting to “catch up” — but that usually makes things worse.
Why cutting more is bad:
- Hair doesn’t grow back in minutes. Every extra pass removes length you can’t replace that day.
- Cutting higher to fix a high line just moves the problem, it doesn’t solve it.
- Repeated cutting in the same zone thins the hair unevenly, creating patchy density instead of a clean fade.
Smart fix:
- Stop cutting and assess the full head in a mirror before making another pass.
- Instead of raising the line further, blend downward into it using a slightly lower guard with the lever open.
- Soften the harsh edge gradually rather than trying to erase it in one session.
- If the line is very high, consider evening out the opposite side or working with the shape you have rather than chasing symmetry through more cutting.
- When in doubt, stop and let a barber finish the correction — a small overcut is easy for a professional to rescue, but repeated home fixes rarely are.
Common Fade Line Mistakes
| Mistake | What It Causes | Better Approach |
| Jumping from a low guard to a high one | Deep, visible line with no transition | Add a middle guard size to bridge the gap |
| Cutting with heavy pressure | Hard, flat-edged line | Use light pressure and let the guard do the work |
| Skipping the clipper lever | Fixed length jumps instead of gradual ones | Open and close the lever between passes |
| Cutting in one straight upward motion | Flat shelf line | Use small flicking or rocking strokes |
| Cutting the same spot repeatedly | Thin or patchy hair | Move evenly around the head in sections |
| Rushing the whole process | Multiple visible lines | Slow down and check progress often |
Beginner Guard Size Example
A simple guard progression helps prevent lines before they start. Here’s a beginner-friendly example for a low to mid fade:
| Section | Guard Size | Zone |
| Bottom (near skin) | 0.5 or skin | Neckline and sideburns |
| Lower blend | 1 | Just above the bottom section |
| Middle blend | 1.5 | Mid-section transition |
| Upper blend | 2 | Where the fade meets longer hair |
| Top | Scissor or longer guard | Length left for styling |
Following small, evenly spaced steps like this — instead of skipping sizes — is the easiest way to avoid creating a fade line in the first place.
How to Prevent Fade Lines Next Time (Why These Work)

- Use more guard steps, not fewer. Smaller length gaps between sections are naturally easier to blend, so lines have less chance to form.
- Keep the clipper moving. Constant motion prevents any single spot from being cut too short too fast.
- Let the lever do half the work. Opening and closing it between guard changes doubles your effective number of blending steps without buying more guards.
- Cut in good lighting. Shadows in dim rooms hide lines until it’s too late to catch them early.
- Go slow near transition zones. Most lines form at the exact spot where two guards meet, so slow down specifically there.
- Check from multiple angles. A line that’s invisible from the front is often obvious from the side or back.
Frequently Asked Questions
Can I fix a fade line myself at home? Yes. Most fade lines are minor and can be blended at home with the same guard and light, patient strokes.
What guard size should I use to blend a line? Usually the same guard the line was cut with, or half a size lower with the lever fully open.
Will a fade line grow out on its own? Yes, most fade lines soften naturally within one to two weeks as hair grows.
Why does my fade line look darker than the rest? It means the hair above the line is noticeably thicker than the hair below it, creating a shadow contrast.
Is it bad to cut higher to fix a fade line? Yes. Cutting higher usually creates a new problem instead of fixing the original line.
How long does it take to blend a fade line properly? A simple line can often be fixed in 10–15 minutes; stubborn lines may need a second short session.
Should a beginner use a razor to fix a fade line? No. Beginners should stick to clippers and guards — razors are harder to control and can worsen unevenness.
Conclusion
A fade line feels like a disaster in the moment, but it’s one of the most fixable haircut mistakes out there. The pattern behind almost every case is the same: hair length changed too fast, and light, patient blending is what brings it back together. Use the same guard, open your lever, work in small sections, and resist the urge to cut higher just to “catch up.”
Slow, steady blending beats rushing every single time — and with the steps in this guide, you now have everything you need to fix a fade line confidently, whether it’s your first home haircut or your fiftieth.